
At Newskill, we are proud to offer you a huge selection of gaming chairs, so you can choose the one that best suits your tastes and needs. In addition, we want to accompany you step by step in its assembly, to simplify the task, and make the experience even more comfortable and easy, so we have prepared this super tutorial
Gaming chairs with leap frog mechanism
To make it clear that assembling a gaming chair is easier than it might seem, we wanted to make this tutorial, accompanied by a video assembly of our high-end chairs with leap frog mechanism. If you are a user of a simple mechanism model, do not worry, this guide can also serve you, as you can see step by step, the pieces that are used. Anyway, here we leave you the specific tutorial for these modelsin case you find it more useful
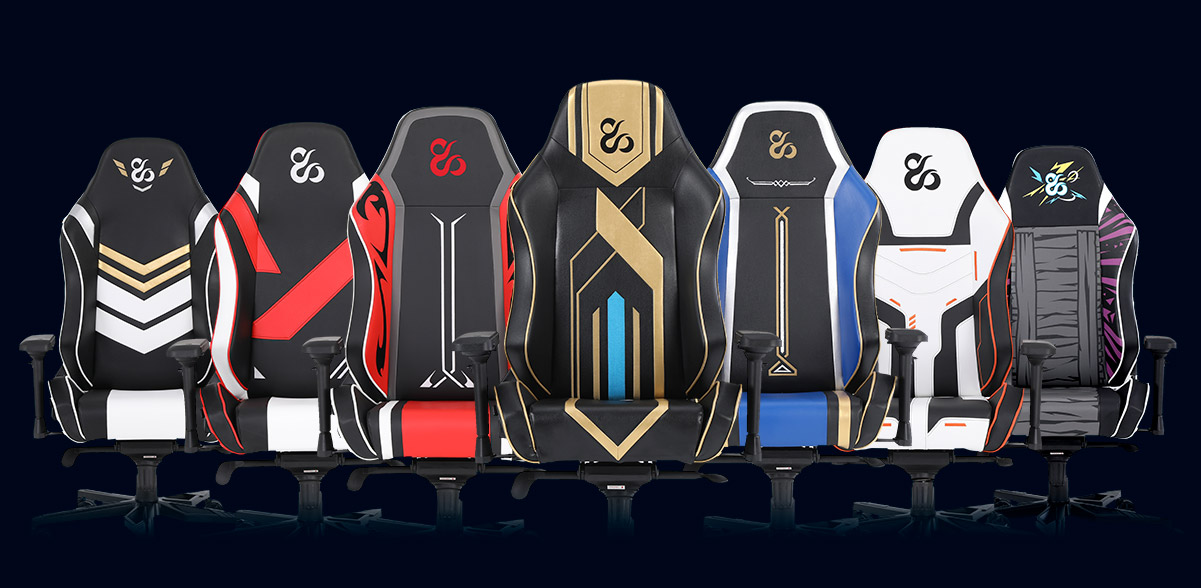
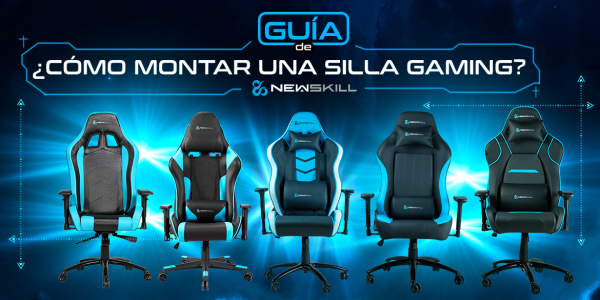
For this assembly we have used our chair Neith Pro, Payload modelbut it is available in five other versions, all of them brutal. Of course, all our chairs come with their assembly manual, but we know that sometimes a video tutorial is much better, clearer and more illustrative
Identifying the parts
We start with the obvious, open the box, take out the parts and check that everything is correct. In case any part presents a problem, don't worry, contact our customer service and we will be happy to help you. Remember that our chairs have a two-year warranty for manufacturing defects, and we also have spare parts, so that your chair will be with you for many years to come
The main difference of Neith, Neith Zephyrneith Pro, Osiris y Osiris Zephyr, with the rest of our gaming chair models, is the leap frog mechanism. This mechanism allows, not only to recline the backrest, but to recline the seat as well, and this helps to adopt more comfortable positions in your moments of relaxation, expanding the possibilities of your chair. In addition, Neith Pro has a special star base and wheel design, making it even more special
We start with the base
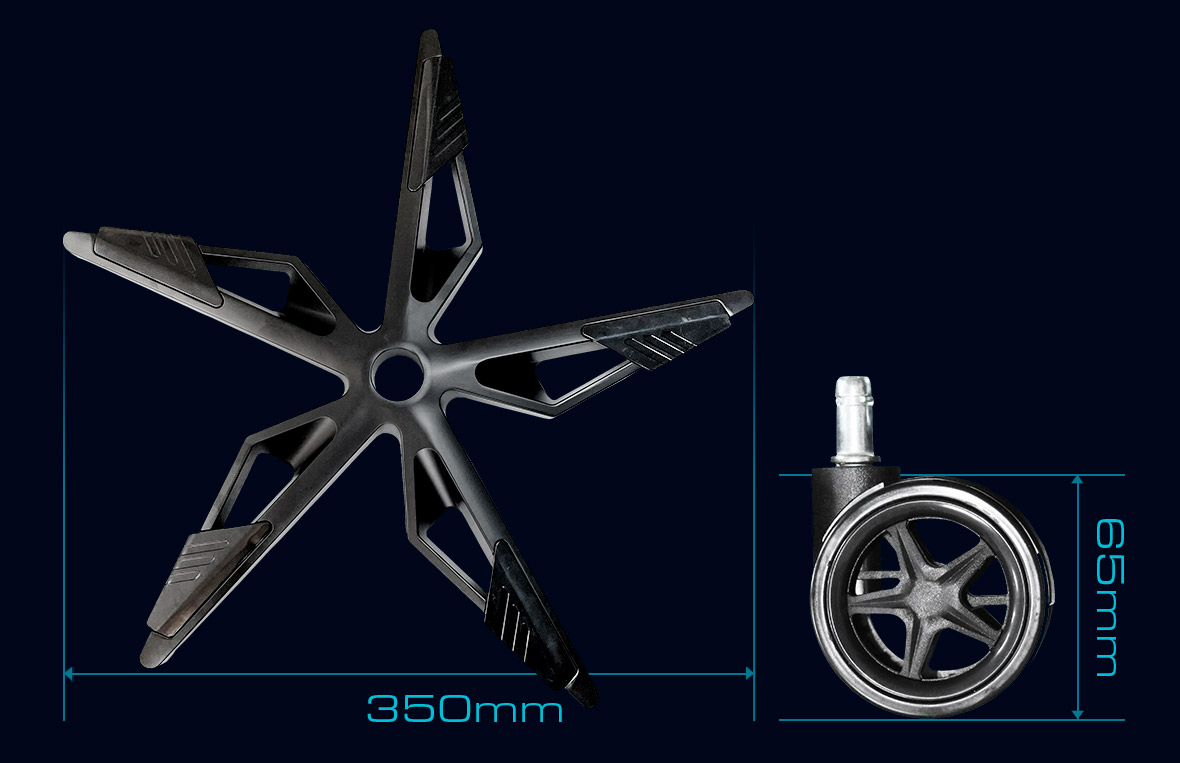
Once you have all the pieces identified, the first thing to do is to assemble the star base, fit the wheels on it and put the gas piston, which will allow you to raise and lower the chair, so that you are always at the right height to work or play comfortably. Once it is in place, simply by means of pressure, we also place its trim, which simply has an aesthetic function.
In the Neith Pro model, part of the screws are inserted in their corresponding places, to ensure that all the screws are present when you receive your chair and, in addition, to facilitate the identification of their place of placement, and that you simply have to unscrew them, place the corresponding piece, and easily screw them back on
Assembling the seat
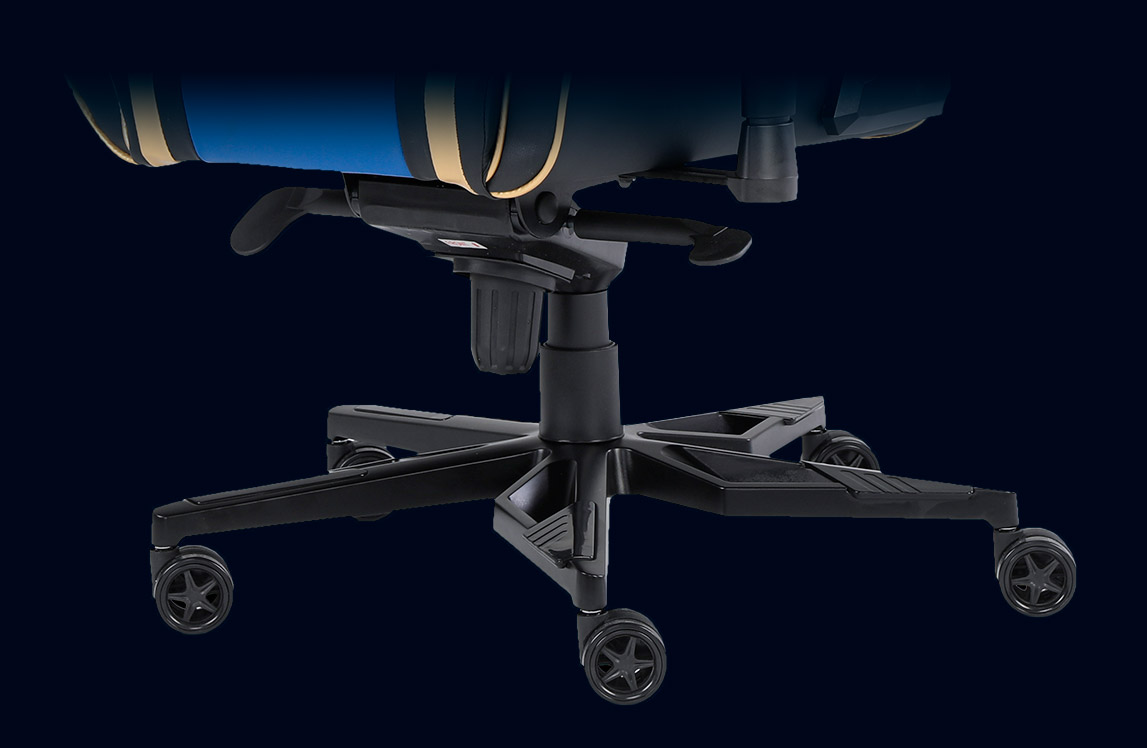
Next, we proceed to mount the lever mechanism on the underside of the seat. In principle, the pieces of the armrests will come already mounted on the seat, but if not, or if you need to modify them, simply unscrew them from the bottom of the seat. Once we confirm that the armrests are correctly positioned, we place the seat upside down for easier assembly, identify the front of the seat and the lever mechanism, unscrew the screws of the central piece that crosses the seat, place the piece and screw again. You will see that both the seat and the piece of the mechanism, have an indicator of where they should be placed, but you can also see it in the manual and in the video. Once both pieces are correctly screwed, you can place the two levers that go to the mechanism, or wait to finish the assembly, and place them at the end. Now there is something a little more complex, to fit the gas piston in the hole of the lever mechanism, simply by pressure.
The backrest and details
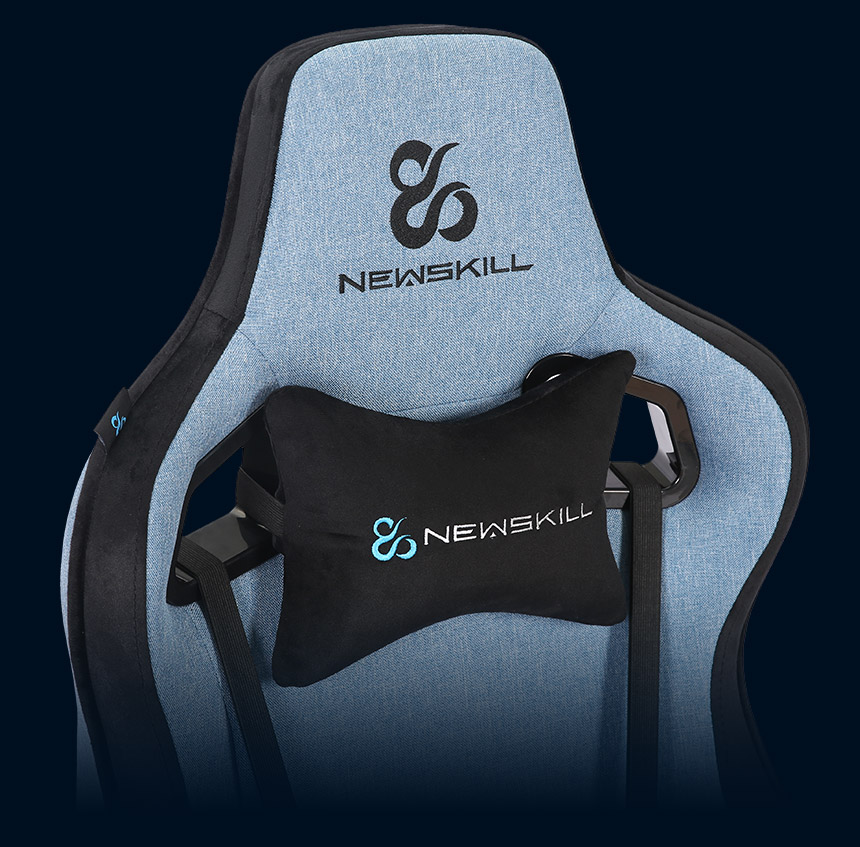
We are reaching the end of the assembly of your new gaming chair, we still have to place the backrest and small details, such as cushions and trim. As we have the seat ready, we put it in its original position, with the wheels touching the floor, we take the backrest and unscrew the screws to place it on the seat. Once we have aligned the holes for the screws, with the fasteners of the seat, screw the pieces and place on top of the trim, both the piece that covers the fasteners, such as caps
Finally, it only remains to place the lumbar and cervical cushions, in the position that is most comfortable for you, and enjoy your wonderful gaming chair


Comments (0)