
You already have your Kaliope gamer microphone or you are strongly thinking about getting it, but you are not sure how to use it or you don't know if it will be easy to configure it and regulate all its features. From Newskill we have prepared a brief and straightforward guide to use the microphone Newskill Kaliope so you only have to connect the microphone and start recording, chat with your friends or stream your best victories. Sit down on your Aryon gaming chair and join us
More than just a microphone
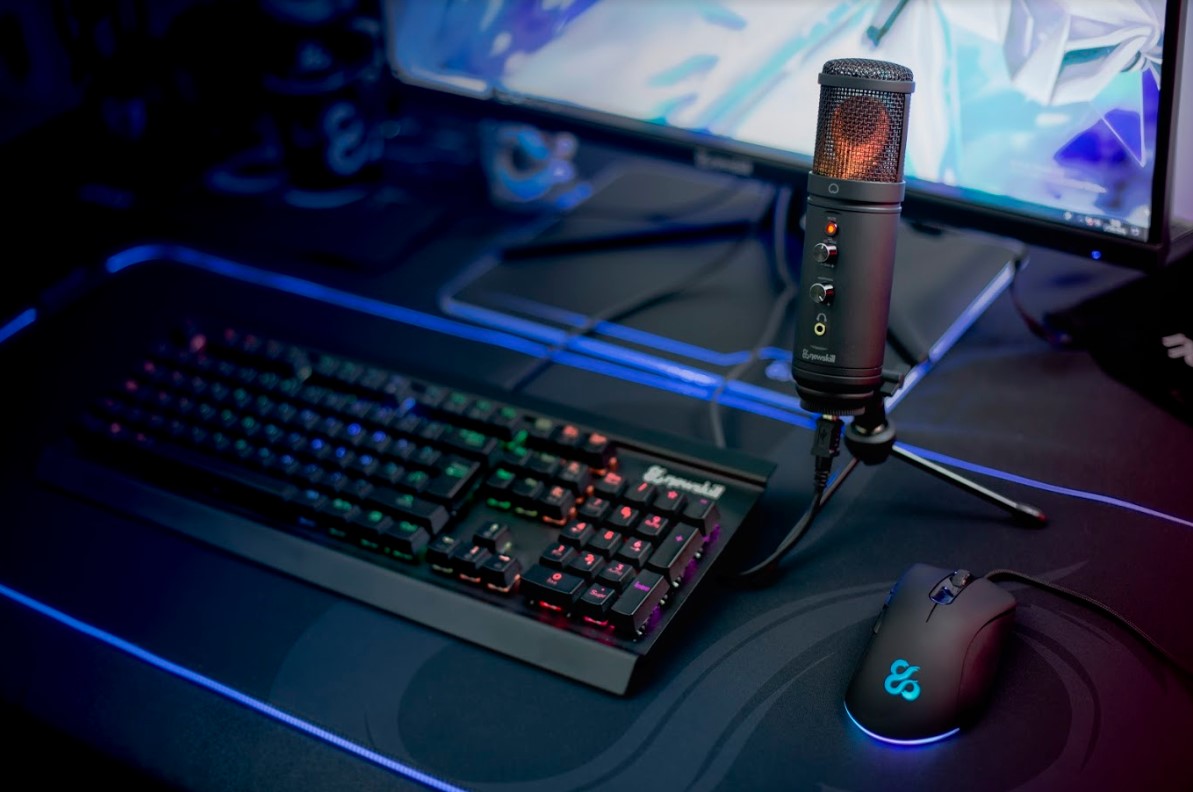
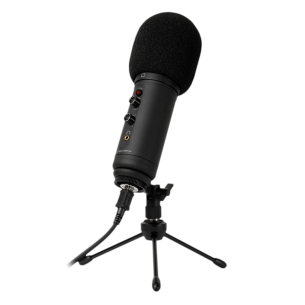
The gamer microphone Newskill Kaliope includes in its box a USB type B cable, a base and a microphone stand, an anti-pop filter and the microphone itself, 270mm high by 170mm wide. The bottom part includes the connection for the computer. The assembly of the gamer microphone is simple, we place the base under the microphone, screwed, and attach it to the tripod or microphone stand to support Kaliope on any surface. To connect it to the PC we simply plug the cable that came with the microphone at the bottom and from there to the computer's USB.
Adapting to the Kaliope control panel
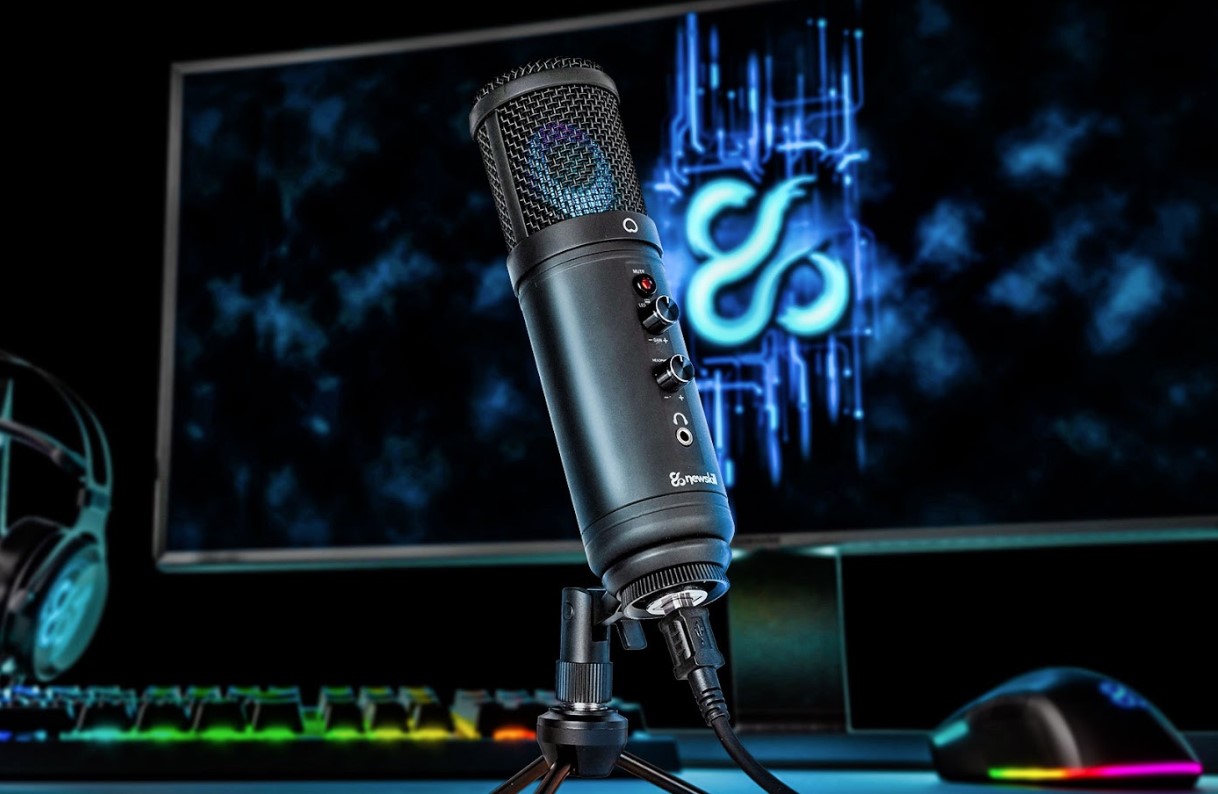
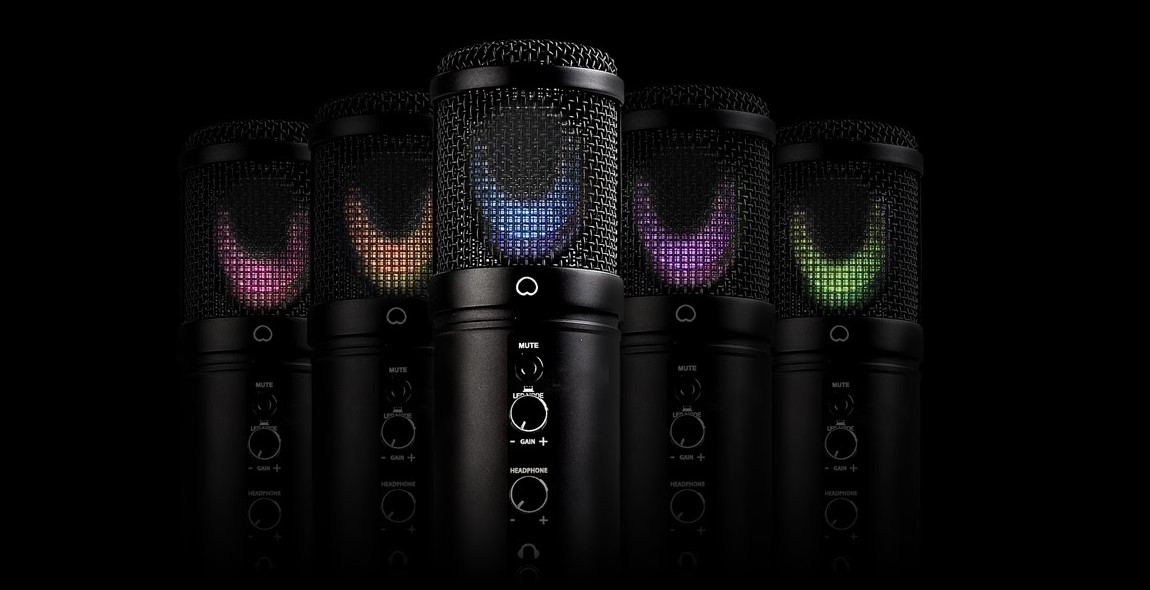
Once the assembly of Newskill Kaliope is finished and after connecting it to the computer, the RGB lighting will turn on. On the front of the microphone we will have access to the only control panel that the gamer microphone has. The button located at the top will serve to mute or unmute the microphone. The next button is the first potentiometer and serves to adjust the gain of the sound, if it is captured with a greater or lesser amplitude of the sound, recommended to position it in the middle to not saturate
An RGB illumination that will make you shine
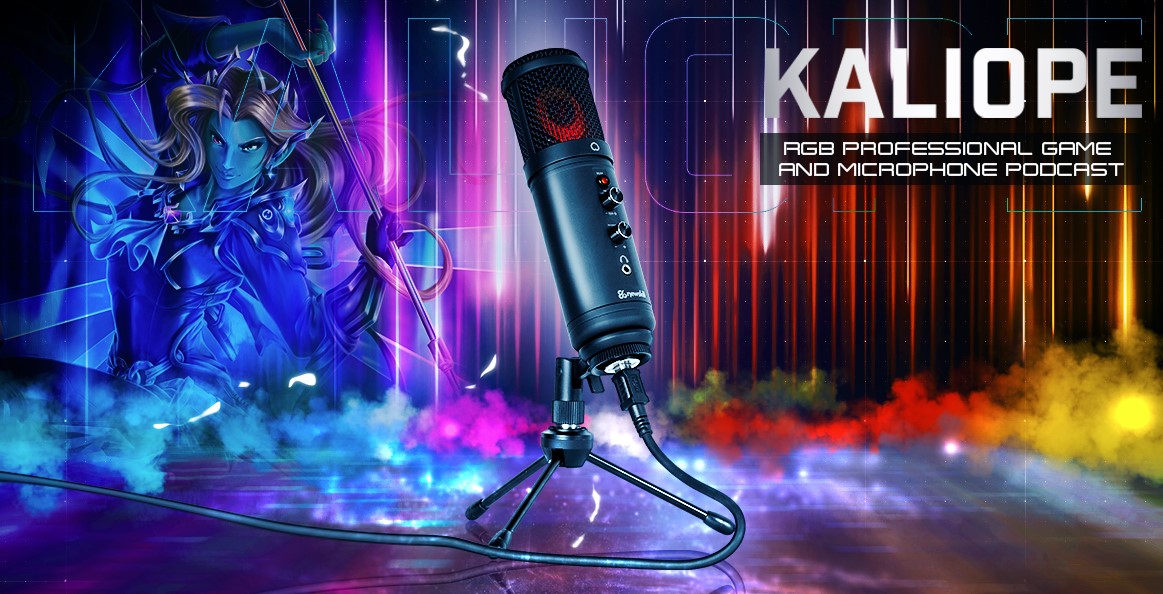
In addition, this potentiometer is used to change the lighting mode of the Newskill Kaliope. We will have the possibility to configure the RGB in different fixed colors or lighting effects, with the possibility of even leaving the microphone configured without any lighting
Listen to what you say and adjust the gain
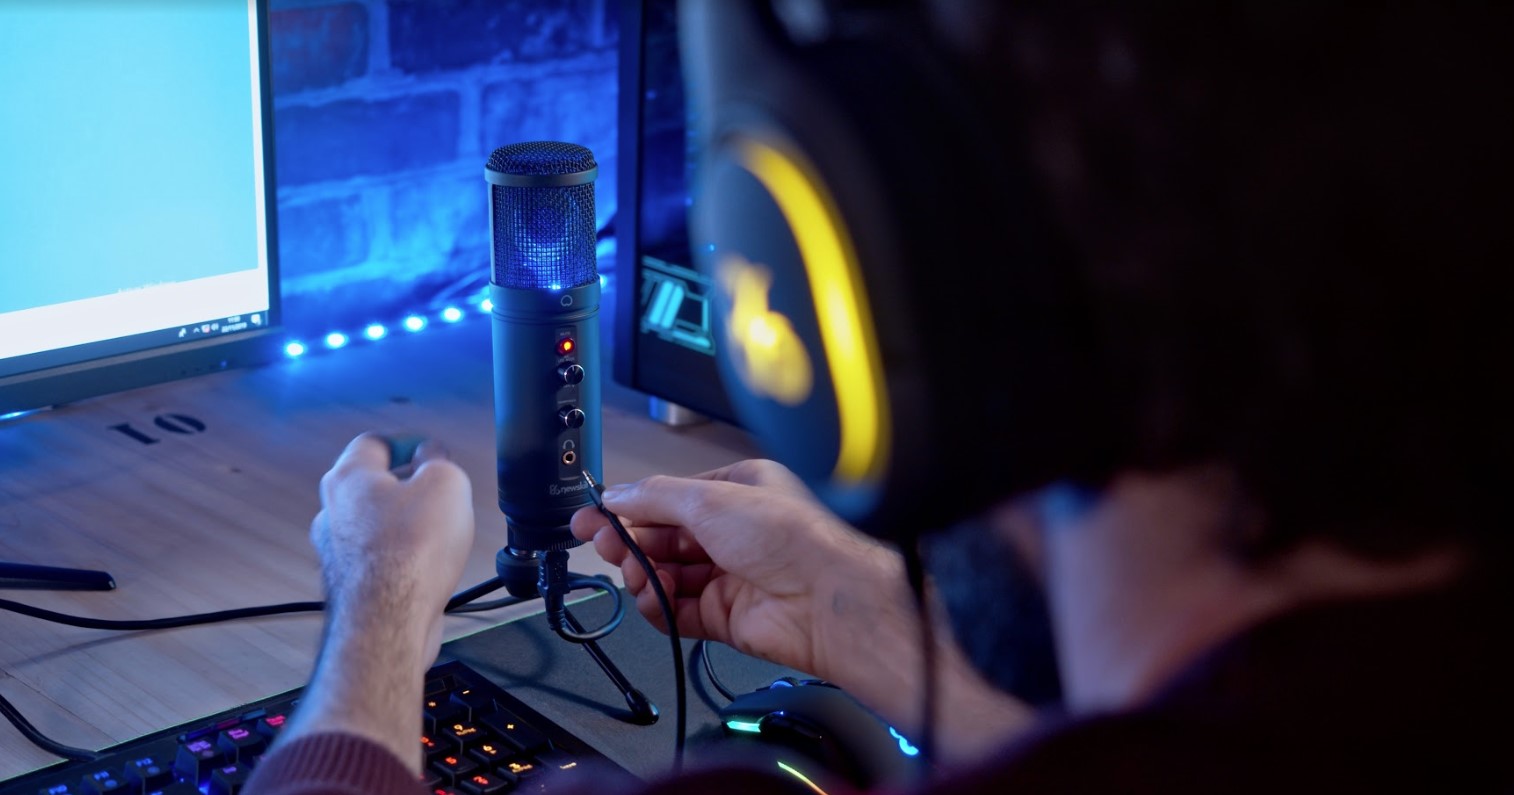
The next potentiometer to which we will have access serves to adjust the volume of the speakers that we can connect to the 3.5 mm jack located just below the last button on the control panel. You can connect both speakers and headphones (such as the Scylla) through this audio input. If we connect headphones we can listen directly to the sound that is picking up the microphone itself and thus optically adjust the gain level from the first potentiometer
Other technical characteristics of the gamer microphone
Its frequency response presents a spectrum between 30 and 18,000 hertz, its frequency response is flat, so you can pick up the bass and treble sounds. Its recording sensitivity ranges from -36 to 2 decibels. Another of the most relevant features of Kaliope is its sound pressure level, its maximum sound level. In this gamer microphone is at a maximum of 130 decibels
A microphone designed by and for gamers due to its ease of use. Connect and start using without any configuration and compatible with all types of audio recording software



Comments (0)